Transfer to Another Institution
-
Step 1
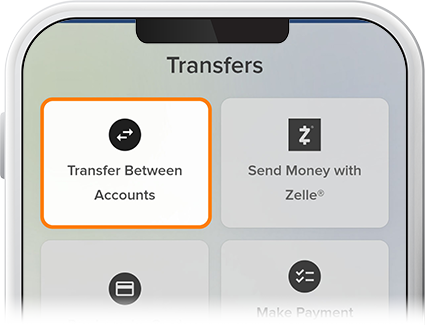
After you’ve added an external account, tap Transfer, then Transfer Between Accounts.
-
Step 2
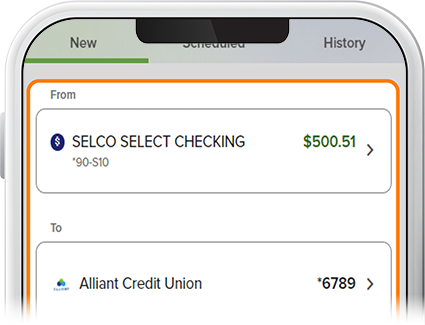
Select the funding source, the external account to which you’ll transfer, and the transfer amount.
-
Step 3
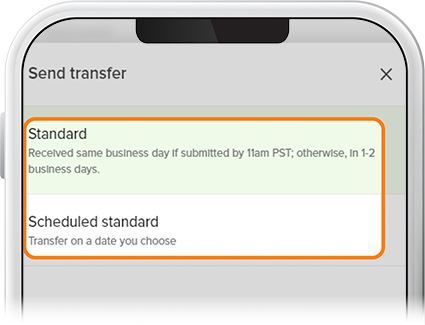
Select the timing of your transfer (“Standard” or “Scheduled standard”) from the drop-down. A standard transfer will be received same business day if submitted before 11:00am or within 1-2 business days otherwise.
-
Step 4
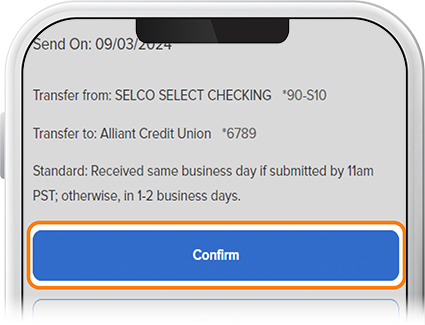
For a scheduled transfer, enter the frequency with a start date and end date, if applicable, then tap Review. If everything checks out, select Confirm (for a standard transfer) or Schedule (for a scheduled transfer). Note: If you'd like to change the frequency of your scheduled transfer, simply delete the existing transfer and then create a new one with your desired recurrence. To view scheduled transfers, tap the Scheduled tab on the Transfers page.